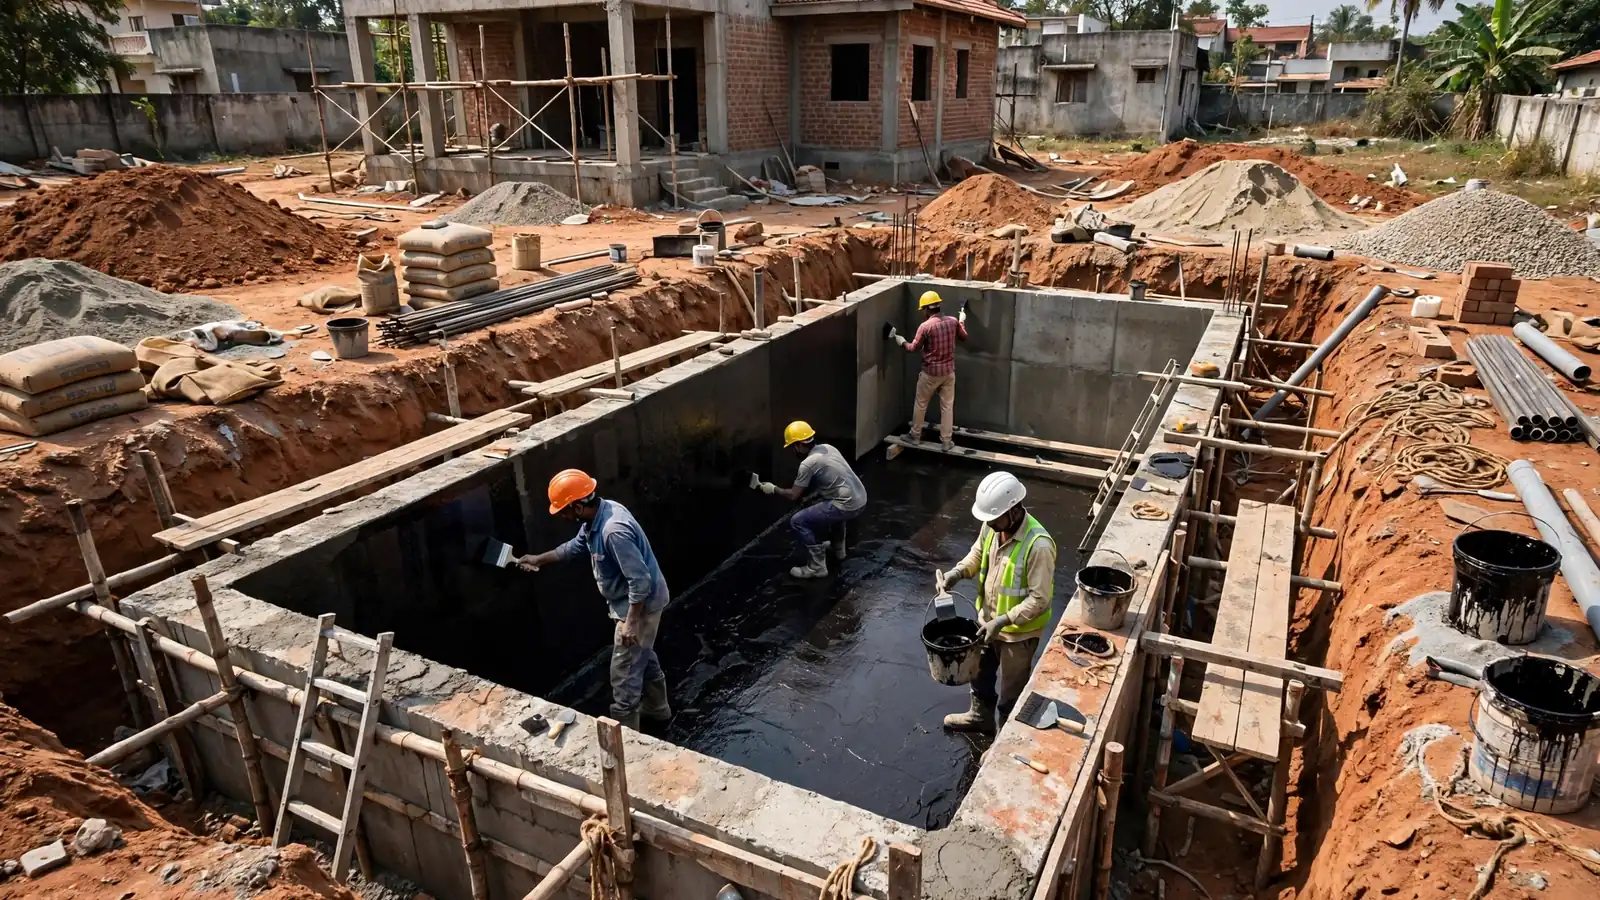
An underground water tank fights water from both directions. Groundwater presses in from the soil outside, and the drinking water you store presses out from inside. Get it wrong and the tank loses stored water into the ground while letting dirty groundwater seep into the water your family drinks. A terrace specification copied onto a tank almost always fails — which is why homeowners pay for the same tank to be "fixed" two or three times.
1. The short answer
For a drinking-water tank, the honest default is a food-grade crystalline or polymer-modified cementitious lining inside, plus external waterproofing outside. Epoxy or food-grade polyurethane is the step up for severe leakage; PU injection grouting is a repair tool that stops an active leak fast, but it is not a lining system. Whatever the system, it only lasts with proper preparation, detailed wall-to-base joints, and a 72-hour hold test before the tank goes back into service. A quote that skips preparation is not cheaper — it is the same job, paid twice.
2. Why underground tanks leak — and why repairs keep failing
A buried tank lives under conditions no terrace or bathroom faces. In the monsoon the water table rises, so the outside walls sit in wet soil for months while the inside stays wet permanently, and the concrete moves slightly as the soil settles and the tank fills and empties, opening hairline cracks at the weakest points. Because the tank is buried, the first signs only show when damage is done: the level drops overnight, the pump runs longer, or the water smells of soil.
The leak almost always starts in four places: the wall-to-base construction joint — the most common failure point; pipe collars and penetrations, where inlet, outlet and overflow pipes pass through; cracks from settlement or hydrostatic pressure; and honeycombed concrete. A coating painted over these defects is paint, not waterproofing — it peels, and the leak returns through the same joint.
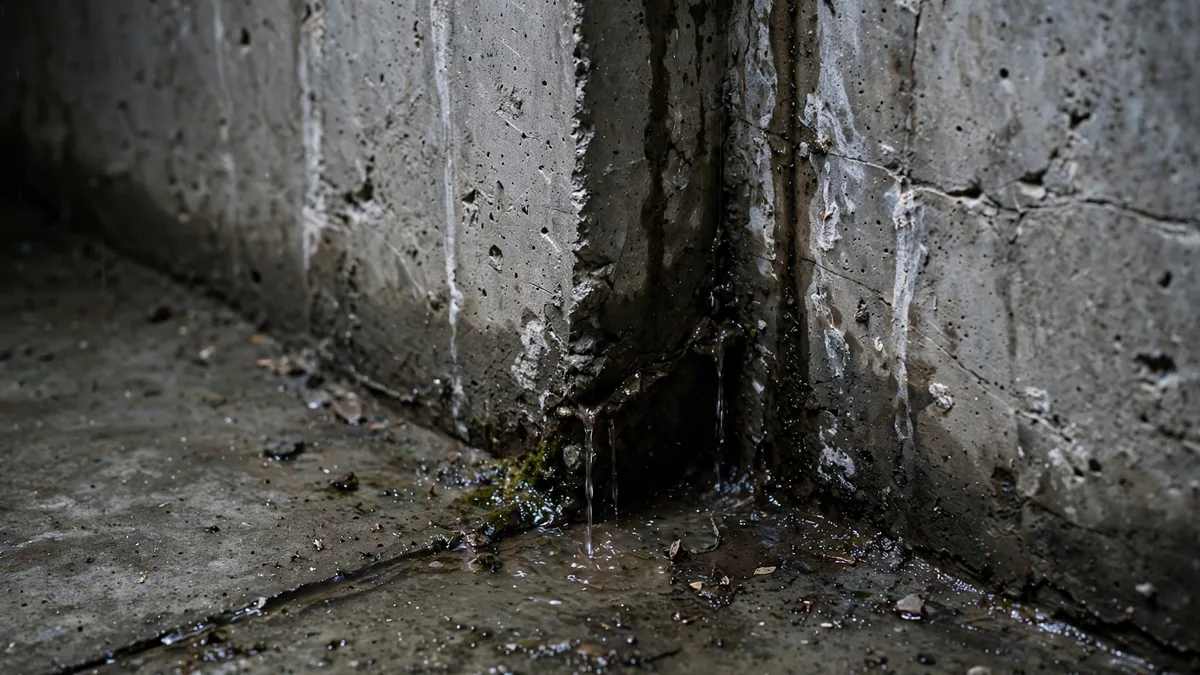
There is a second failure homeowners miss: contamination — a tank that leaks outward also leaks inward, so groundwater seeps into the stored water. A leaking tank is therefore a drinking-water safety problem, and that decides which systems are acceptable inside it.
3. Inside, outside, or both?
Both. Internal waterproofing protects the stored water; external waterproofing protects the concrete from groundwater and salts. Internal-only leaves the structure exposed: water keeps pressing from outside and eventually damages the lining from behind. External-only leaves stored water against bare concrete and any cracks that open later.
So the right time to waterproof a tank is while it is being built, while the outside walls are still accessible. External treatment — usually a bituminous or cementitious coating, protected by a brickbat or protection board before backfilling — costs far less now than later, when reaching the outside means digging it out again. If the tank is already built and buried, the realistic scope is a thorough internal system plus whatever external work is possible around the top and pipe entries. Be suspicious of any contractor who promises a permanent fix from the inside alone with a high water table.
4. The four methods that actually last
There is no single best system — it depends on whether the tank stores drinking water, how bad the leakage is, whether the tank is new or old, and the monsoon water table. These four cover nearly every Indian home tank.
4.1 Polymer-modified cementitious lining
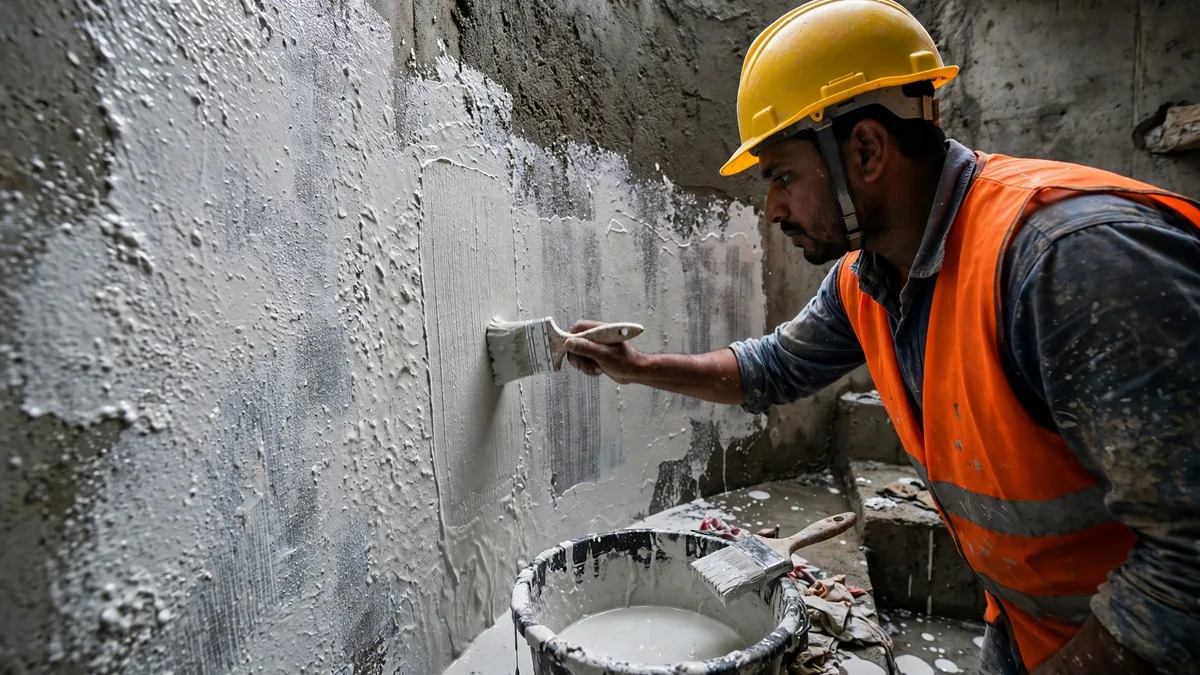
The workhorse: a cement-based coating mixed with a polymer, brushed or trowelled on in two or three coats. It bonds with the concrete rather than sitting on it like paint, and food-grade versions such as Fosroc Brushbond or Dr. Fixit Dampguard suit potable-water contact. It suits new tanks and minor seepage, tolerates a damp surface, and is easy to repair later. Its limit is movement — on a settling tank a rigid coat cracks with the concrete, so treat cracks first.
4.2 Crystalline waterproofing
Crystalline systems — Dr. Fixit Krystal and STP Cementokote are commonly quoted — work differently. Its active chemicals penetrate the concrete pores and react with moisture to grow insoluble crystals that block the water paths from inside. Because the protection sits in the concrete, not on its surface, it cannot peel off, and it can seal hairline cracks that open later. Guides describe it as safe for drinking water and the longest-lasting option. It is the default choice for a sound potable tank, not a crack filler. Wide or moving cracks need treatment first, and the surface must stay damp while curing.
4.3 Food-grade epoxy and polyurethane coating
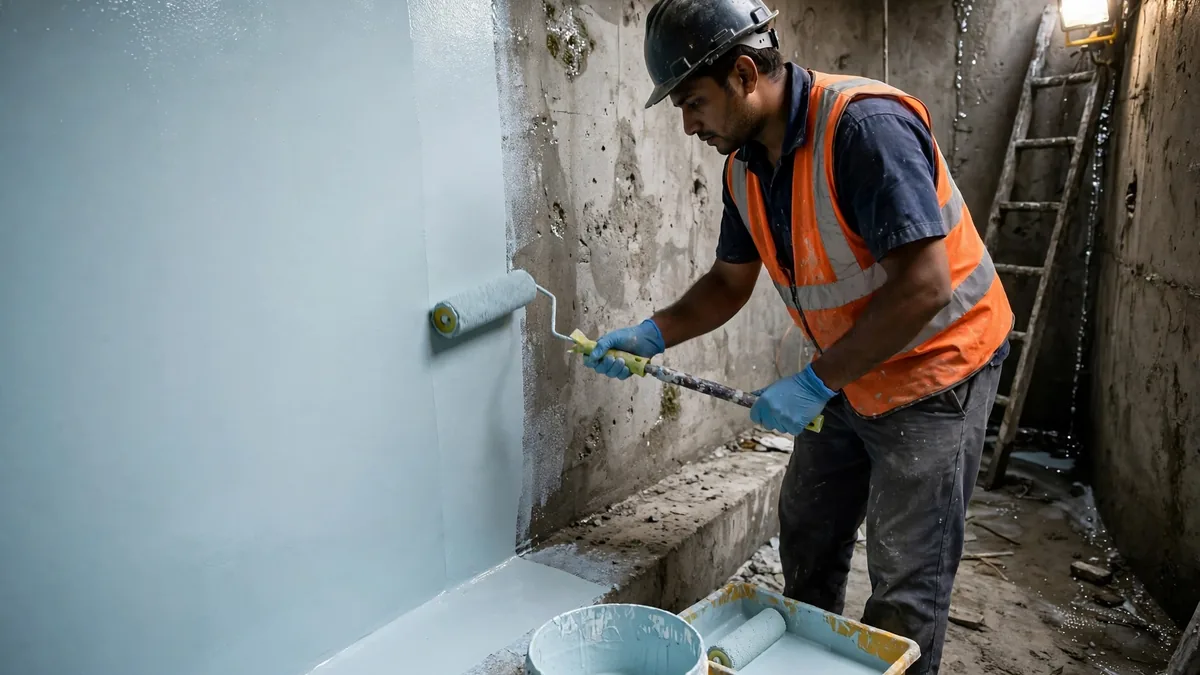
For a tank that leaks badly, a seamless food-grade epoxy or PU coating is the step up. Applied in two or three coats, it forms a continuous, joint-free skin that resists chemicals — the right answer for an old tank with widespread seepage that cementitious systems have already failed on. The trade-offs are real: the surface must be dry and properly profiled, applicators must be trained, and it costs more per square foot. A cheap epoxy job on damp, unprepared concrete peels in sheets — worse than no coating, because the loose skin hides the leak.
4.4 PU injection grouting — the repair tool, not the system
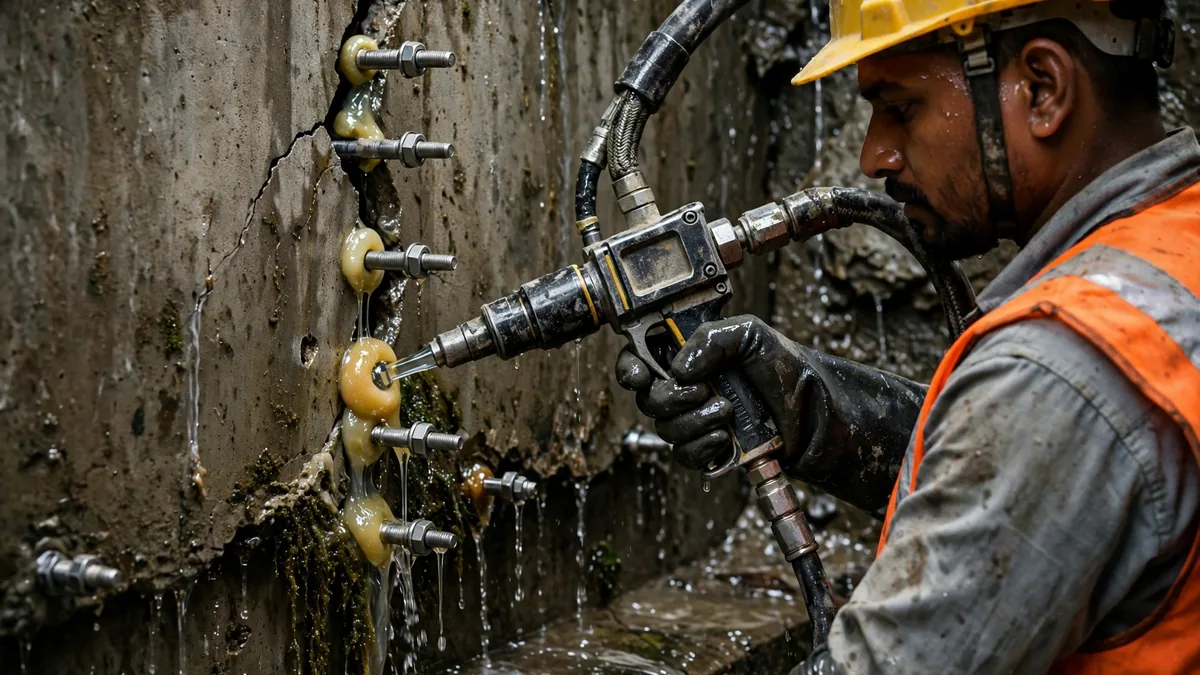
Polyurethane injection grouting stops an active leak in hours: small packers are fixed along a crack, and a resin is injected that expands on contact with water and seals the path. It is the correct first step when a tank is leaking right now and cannot be emptied. What it is not is a tank waterproofing system: grouting seals only the crack it was injected into. Treat it as the emergency repair that buys time for the real lining.
| System | Best for | Indicative rate | Watch out for |
|---|---|---|---|
| Cementitious lining | New tanks, minor seepage, drinking water | Rs 150–250 per sq ft (Delhi NCR guide) | Cracks with live movement |
| Crystalline system | Potable tanks, long life, hairline cracks | Rs 250–400 per sq ft (Delhi NCR guide) | Needs damp curing; not a crack filler |
| Food-grade epoxy / PU | Severe leakage, old tanks, water quality | Rs 60–90 per sq ft material only; applied cost higher | Peels if applied on damp, unprepared concrete |
| PU injection grouting | Stopping an active leak fast | Rs 800–1,500 per injection point (Delhi guide) | Seals one crack, not the whole tank |
5. Getting the tank built right in the first place
Half of tank waterproofing is decided before any coating is bought — the concrete must be dense and well compacted, with proper vibration at the wall-to-base joint, where honeycombing hides. Water bars belong at every construction joint — cheap now, nearly impossible to add later. Pipe entries should be cast in with puddle flanges, not core-cut and patched later. Cast with as few joints as possible, and cure the concrete properly before coating — a coating on green, uncured concrete will not bond.
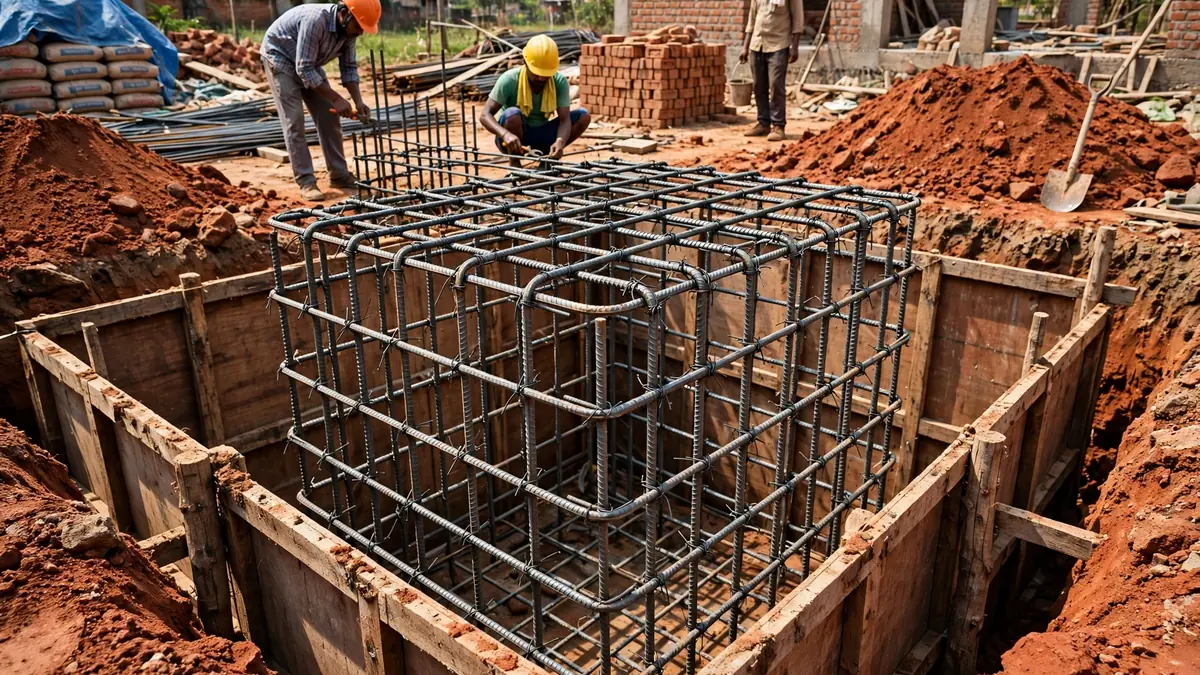
Backfill in layers and compact it, and drain surface water away — a tank in a permanent puddle is under permanent pressure. Where the water table is high, the engineer may also design for uplift: an empty tank can float or crack as the water table rises. Final sizing, reinforcement and foundation decisions need a project-specific assessment by a qualified structural engineer.
6. What it costs — and what the price is hiding
No single rate exists — a quote without measuring the tank is a guess. City guides checked in November 2026 put treated-area rates at roughly Rs 80–200 per sq ft — Delhi NCR guides quote cementitious at Rs 150–250 and crystalline at Rs 250–400 per sq ft. Material-only bands run lower — cementitious Rs 25–40, acrylic polymer Rs 40–60, epoxy Rs 60–90, food-grade PU Rs 80–120, crystalline Rs 70–100 per sq ft. For whole tanks, a Haridwar guide quotes Rs 8,000–15,000 internal-only up to 5,000 litres, Rs 15,000–25,000 for both sides, and Rs 40,000–65,000 for 10,000–20,000 litres; a Delhi guide puts a full large-bungalow sump repair plus coating at Rs 60,000–1,80,000. All illustrative — get a quote measured on your tank.
What drives the price is the work you cannot see once the coating is on: preparation and crack repair are 40–60% of the labour — dewatering, washing, cutting out honeycombs, chasing cracks, forming cove fillets. A quote below roughly Rs 80–90 per sq ft has usually dropped preparation or joint detailing — which is why it fails. Ask for preparation, crack repair and joints as separate items, and hold 10–15% contingency for what the survey could not see.
7. The 72-hour hold test — the only proof that counts
No tank should go back into service on a warranty certificate alone. The proof is a hold test. Once the lining has cured per the data sheet, the tank is filled to its working level and left for 72 hours. The water level is marked at the start, and the outside of the tank and the ground around it are checked for damp. A drop beyond the small evaporation allowance means a leak is still there, and the contractor fixes it before handover — not after you have refilled the tank.
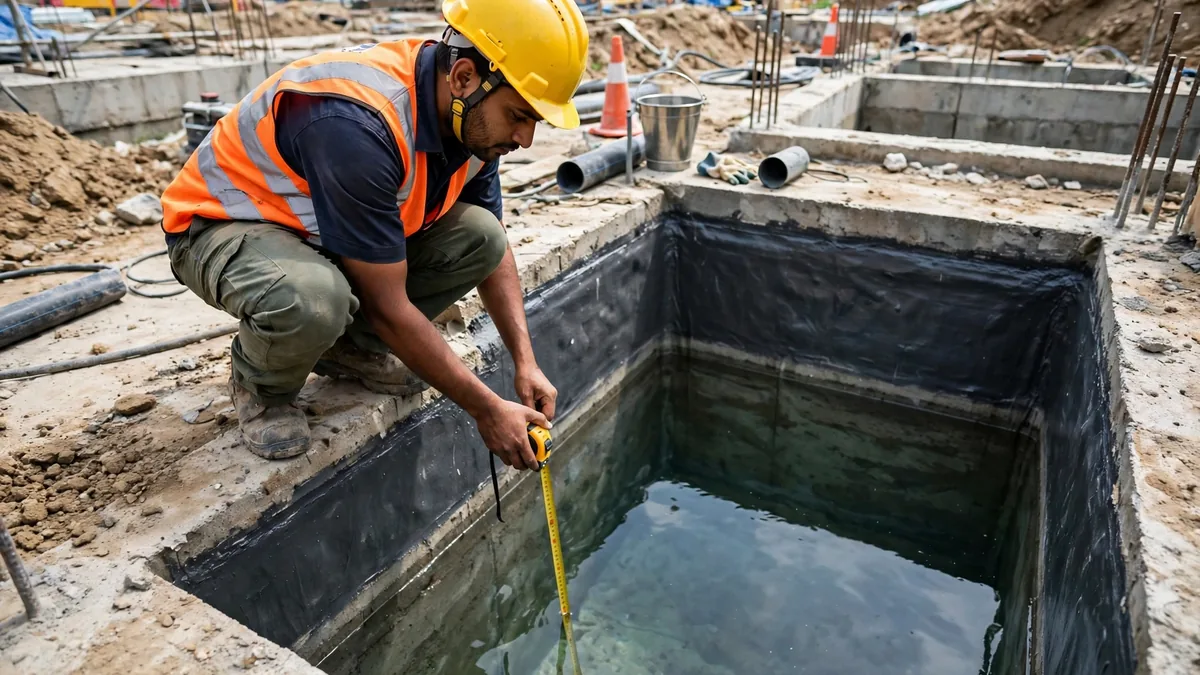
Before the tank is used for drinking water, flush it thoroughly — fill, leave, drain, repeat until the water runs clear and free of chemical smell. This step is often skipped, and it decides whether the first week's water is safe to drink. Ask for the hold-test result in writing: the start level, the level after 72 hours, and the date. Most jobs take 4–12 days per tank, and warranties quoted run 5–10 years depending on the system. A warranty is only as good as the company behind it, so check the applicator is authorised for the product.
8. Why repairs fail — the mistakes to stop repeating
The same five mistakes explain most repeat tank failures. First, coating over a leak without stopping it: a lining on a wet surface will not bond, and water pushes it off from behind. Second, ignoring the wall-to-base joint: it needs a cove fillet — a curved mortar bed the coating can follow — and a coat in a sharp corner cracks at the corner. Third, skipping the outside: internal-only treatment with a high water table is a temporary fix. Fourth, a non-food-grade product inside a drinking-water tank. Fifth, no hold test: the tank is refilled the same day the coating is applied, so it never cures and the leak returns within weeks. If your tank has been "repaired" twice, the problem is almost certainly one of these five — not the product, but the process.
Never enter a sealed or coated tank until it is ventilated — coating fumes can be dangerous in a confined space. And never let anyone apply a drinking-water lining without the product's food-grade certificate. If the contractor cannot show it, the product does not go in your tank.
9. What to ask before you pay
A good contractor answers these questions without hesitation. Which system, and why this one for my tank? What does the preparation include, and is crack repair itemised separately? Is the product food-grade — can I see the certificate? Will you do a 72-hour hold test, in writing? What is the warranty, who honours it, and what voids it? If any answer is vague, get a second quote. The cheapest tank waterproofing is the one done once, properly, with a test that proves it.
If you are building a new home, plan the tank like the structure: soil first, then design, then the waterproofing system. Our guides on soil testing, plumbing layout and the RCC slab casting checklist cover the stages that decide whether your tank starts sound. For a measured quote, talk to RTPL with your tank's size, depth and water-table conditions — a system chosen from the tank's condition lasts; one chosen from a price list does not.

